How to Close Your Pool in 9 Steps

how to close your pool

The dog days of summer may still be upon us, but it will be fall before you know it. Early September is still prime swimming time in Cincinnati, but soon your beloved pool will need to close for the winter season. Have you thought about how to close your pool?

Knowing when to close your pool can be tricky. Experts recommend closing your pool when the temperature outside consistently is 65 degrees Fahrenheit or below, and the water temperature consistently dips below 60 degrees. If you close your pool while it’s still warm out, you may be dealing with algae growth and green, unsanitary water come spring. With the unpredictable weather in Cincinnati, you may need to play it by ear to determine when to close your pool.

When the right time to close your pool does come, closing your pool for the season can be a challenge. There are several steps you need to take to make sure your pool doesn’t get damaged during the freezing cold conditions of winter. While we always recommend calling in the experts if you’re not a confident DIY-er, this guide will help you winterize and close your pool properly in 9 simple steps.

Step One: Clean the Pool

The first step before you start to close your pool is to clean it thoroughly. You’ve likely kept up with basic cleaning throughout the summer, but you should give your entire pool an extensive cleaning before closing it for the winter.

First, skim the surface of the pool with your skimmer net to remove leaves and other debris that may be floating on the surface of the water.

Next, brush the sides of the pool with a pool brush, making sure to scrub away any dirt or grime that has built up, especially at the water level. Pay extra attention to the stairs and ladder, or other areas with poor water circulation. 

You should also vacuum the bottom of the pool with a pool vacuum to remove any debris that has settled at the bottom of the pool. Make sure your water is as clean and clear as possible. Any missed debris can clog the filtration system over the winter season.

Finally, clean out your skimmer baskets of any debris. You may also want to wipe or hose out the skimmer baskets if they’re slimy or dirty.

Step Two: Test and Balance the Water

While you’ve been testing and balancing your water chemistry throughout the summer, you will need to thoroughly test and balance your water one last time before closing your pool. It’s imperative your pool has the proper chemical levels before you start the winterizing process to make sure your water stays sanitary while your pool isn’t in use.

Use a standard test kit and then add the proper chemicals to balance your water chemistry to your pool’s standard levels. Take special consideration of your chlorine levels before closing your pool. If your chlorine is higher than 5.0 ppm (parts per million.) If it’s too high, it might interfere with other chemicals used to winterize the pool and prevent them from working properly.

Step Three: Add Winterizing Chemicals

About a week before you intend to close your pool, you should add winterizing chemicals to your water to ensure that the water chemistry stays optimal throughout the winter. The chemicals needed can vary based on the type of pool you have, but at the very least you’ll need two chemicals:

  1. A phosphate remover or algaecide to prevent algae growth
  2. A stain and scale chemical to prevent mineral buildup

Step Four: Shock the Pool

The night before you close your pool, use a commercial pool shock to give it a final blast of cleaning power. Follow the manufacturer’s instructions and let the shock sit overnight while your pump runs to get the most benefit out of the chemicals.

Step Five: Reduce the Water Level

Before you put the cover on your pool or finish the other closing steps, make sure that you have an optimum water level for your pool cover type. If you have too much water in your pool over the winter, it can freeze and damage your skimmers or other parts of your pool.

The proper water level for your pool depends on the type of pool that you have and the cover that you’re using over the winter. In general, you want to keep the water level just below your skimmer or tile line, but no more than 18 inches from the top edge of the pool. Use a pool pump to

Step Six: Clean the Filter

Your pool’s filter can get dirty over the course of the summer, and you don’t want all the dirt and bacteria just sitting there all winter long. Before you close your pool for the season, turn off your pool pump and clean your filter thoroughly using your manufacturer’s instructions.

There are three types of pool filters: sand filters, cartridge filters, and diatomaceous earth (DE) filters. The cleaning process for each filter type may vary a bit, but in general, you’ll want to either backwash your filter or clean it with a hose and use cleaning chemicals if necessary to sanitize the filter before reinstalling it.

Step Seven: Empty the Pump Lines

It can get quite cold in Cincinnati over the winter, which means it’s imperative to empty your pool lines, pump, and filter of all water to properly winterize your pool. Water left in the lines over the winter can freeze, causing pipes to crack or burst and costing you money in damages.

This step is difficult, so it’s recommended to have a professional like Cincinnati Pool and Patio do this if you’re not confident enough to do it yourself. If you do want to attempt a DIY method, use an air compressor or shop vac to blow air through your system until everything is dry.

Step Eight: Remove All Pool Accessories

Before you cover up your pool and call it a day, remove all pool accessories from your pool so they don’t get damaged during the winter. Ladders and rails should be removed, as being exposed to winterizing chemicals for long periods of time can damage the finish on them. Dry them off thoroughly and store them in a clean, dry environment for the winter. Pool toys, slides, and other items should also be cleaned, dried, and stored away until next summer.

Step Nine: Cover the Pool

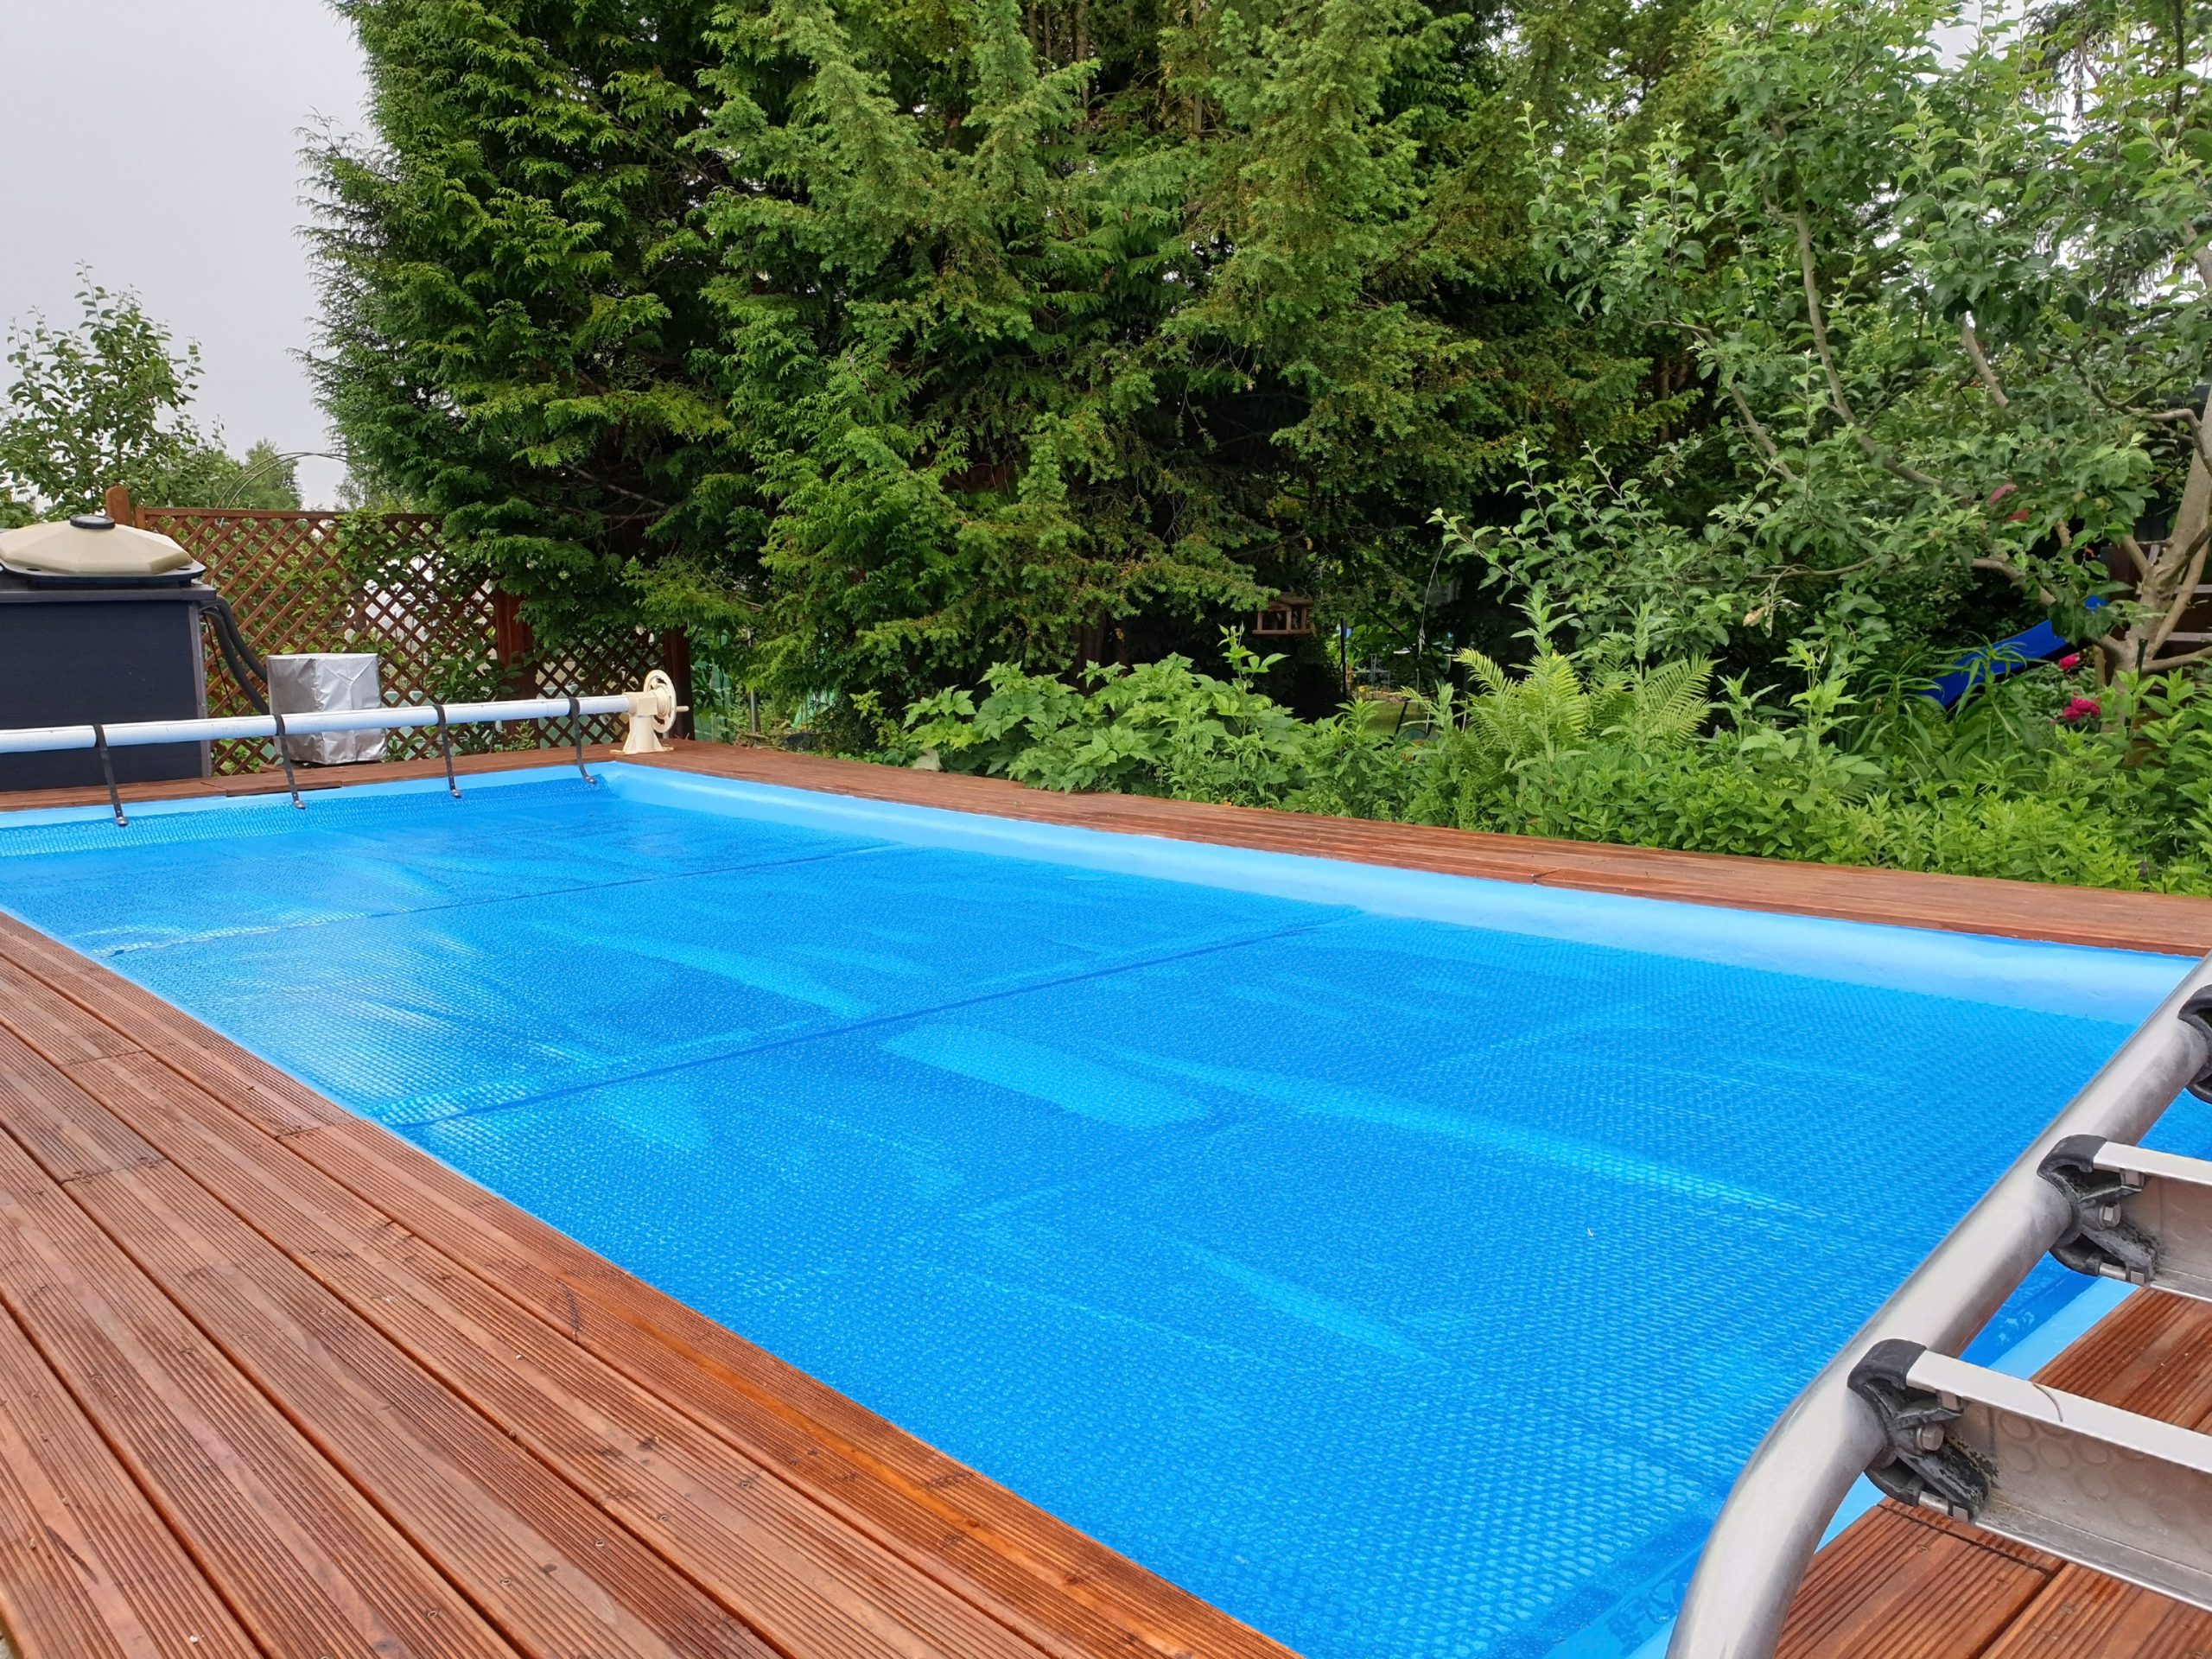
Finally, you will need to cover your pool for the winter and fasten it properly. The installation process of your pool cover will depend on the type of cover you use. Follow the manufacturer’s instructions, and make sure that the edges are sealed properly, so no dirt or debris can get into your pool over the course of the off-season.

Periodically clean off the top of your pool cover over the winter to keep it free of debris and snow using a soft broom or squeegee. Don’t use anything sharp, like a rake, to clean off your pool cover, or you risk puncturing the cover and ruining all your hard work of winterizing!

The Professionals with Cincinnati Pool and Patio can Help Close Your Pool

Closing your pool can be a lot of work but making sure it’s done properly will ensure that your pool opening in the spring will run smoothly. The experts at Cincinnati Pool and Patio can close or open your pool for you, so you know that it’s done right. Schedule your pool closing before our schedule books up for the fall or get in touch with us for questions about how to close your pool.

5 Tips to Enjoy Your Backyard in Winter

backyard

Winter is here and no matter how much you are dreading the cold weather, there are always ways to continue to enjoy your backyard in winter.

For many homeowners, the backyard is a staple of summer living that may fade away once the snow starts to hit, but it doesn’t have to be that way.

Winter takes away the daylight, the warmth and replaces it with a whole lot of snow. The key to enjoying your backyard in winter is to make up for what Mother Nature took away while making the most of what she provided.

Here are 5 Tips to enjoy your backyard in winter

FIND A NEW SOURCE OF LIGHT

In winter, the days are short and daylight is very hard to come by. A practical way to address this issue is by going with a neutral holiday light set and using it all winter long. Permanent lighting in your backyard is a great option to add extra light.

FIND A NEW SOURCE OF WARMTH

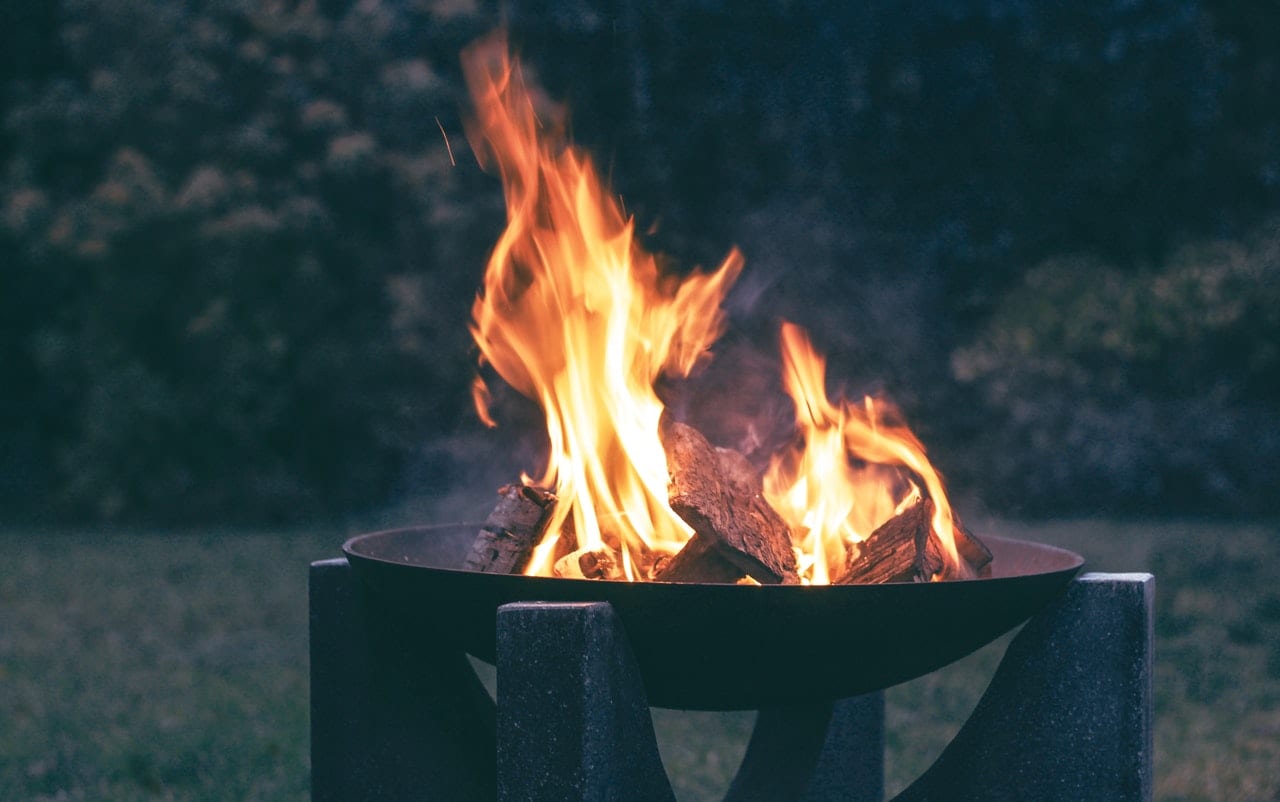
With temperatures plummeting, you need heat to make your backyard more hospitable. There are a variety of options on the market that can address this concern. These options include purchasing patio heaters, having a fireplace installed or even getting a hot tub, which is more affordable now than ever before. These pieces are well complemented by other winter-friendly additions such as wooden furniture and gazebos. You can enjoy the still peace of nature while thawing out by an outdoor fireplace or a fire pit. Bring the blankets and the hot chocolate for a relaxing time with your family or friends.

ENJOY THE SNOW

When it snows, you often dread shoveling your driveway, cleaning off your car and dealing with other drivers on the road. Why not take a break from shoveling and go have some fun in your backyard? You can build a snowman, construct an igloo or snow fort and have a snowball fight.

Therefore, you might as well make the most of the winter by enjoying the one gift it provides that many people don’t actually mind, the snow. The opportunities for fun are limitless, whether you want to make snow angels, a snowman, or even have a snowball throwing contest (where you aim at targets, not at each other!).

One great thing you can do year-round on your patio is grilling. Don’t let the bitter cold and snow stand in your way from eating delicious steak, chicken, and burgers. Just remember to prepare and make sure that your grill has fresh dry charcoal or a fresh tank of gas.

RELY ON WINTER PLANTS

Spring is the season of blooming for most plants, but there is still some plant life out there that can survive and thrive in winter. So head over to your local nursery to learn more about cold-resistant and winter-blooming plants, shrubs and perennials that can add some much-needed vibrancy to your backyard this winter. Look out for Red Osier, a red winter shrub, and Purple Coneflower, a perennial, two options that will compliment any winter garden.

WARM UP WITH A HOT-TUB

Why leave the hot tub to the ski resorts, when you can have one in your own backyard? Your hot-tub can provide a warm relaxation station in your backyard. Be sure to wear a winter hat in the tub. A hat will actually help you regulate body temperature in the tub, and will protect your head from any winter air.

Have any questions about getting your backyard ready for winter? Then contact us here!

Preparing Your Outdoor Furniture For Bad Weather

Anderson township patio furniture

OUTDOOR FURNITURE

This time of the year is perfect to prepare your outdoor furniture for winter. While most furniture nowadays will stand up to the harsh winter elements, there are some things you can do to make sure it will look its best next year. After all, the happier you are with your furniture, the more likely you are to use your outdoor space for entertaining!

Before you jump right in and accept that summer is over, keep in mind that some of the best temperatures for spending time in your outdoor space have yet to come. You may find yourself outdoors more now than during those hot afternoons.

Here is our list of what you should do to prepare your patio furniture for cold weather.

HOW TO PREPARE YOUR OUTDOOR FURNITURE FOR BAD WEATHER

Storage

Depending on what is in your outdoor living arrangement, you may want to consider storing some of the furniture or at the very least store the cushions. Having space dedicated to your outdoor living furniture or lawn ornaments in the offseason may help in protecting your investment.

Know what choices you have for storing outdoor furniture. Whether it be a garage, shed, or storage unit, knowing how much space you have ahead of time will make things easier for you when it comes time to store it.

Give it a coat

After your furniture is clean, a protective coating will help keep it looking good for next spring. Aluminum or plastic pieces can be covered with a thin coat of car wax to protect them and use a coat of paste wax for wicker furniture. Check metal furniture for any signs of rust and remove with a wire brush, then spray metal furniture with a silicone sealant.

Wash it!

The most important step in preparing furniture for storage is to get it clean. Moisture and dirt left on outdoor items can cause mold or mildew to grow in the winter months. Mold can grow and spread quickly, leaving your furniture in bad shape by the time you are ready to use it again. Pieces made from wicker, wrought iron, mesh or plastic can be cleaned with a simple dish soap and water solution.

For wood furniture, you can use a wood cleaner (such as Murphy oil soap) and water, then rinse and let dry. If there are stains that are difficult to remove, make a mixture of 1 cup ammonia, 1/2 cup vinegar, 1/4 cup baking soda, and 1-gallon water. Use a soft brush to work on the stains, then rinse and let dry completely. Take time to work on stains now, to prevent problems in the spring.

Cushions also need to be clean and dry before you put them away for the winter. If you have cushions covered in fabric or canvas, prepare a solution of 1/2 cup Lysol and 1-gallon hot water and use a soft brush to scrub them clean. Rinse cushions thoroughly and let dry. More serious stains may respond well to a solution of 1/2 cup bleach and 1-gallon water but test first on a small area.

Cover Up

Even if you’re planning on storing your outdoor furniture in a shed or garage, you need to cover everything up to protect it from dust, moisture, and all those other things that are best avoided. You can either buy designated furniture covers or make your own using drop sheets or other large, protective fabrics. If you’re leaving everything outside, you need to ensure that the covers you choose are weather resistant and can withstand the elements. It’s worth noting that some materials (like plastic and natural rattan) don’t fare very well outdoors for extended periods so try to avoid leaving them out for the season.

Plan ahead.

It’s not always possible to predict the weather. But, if you know extreme weather is about to hit your area (including a heatwave), go ahead and cover up your furniture or move it into a storage shed. Furniture covers won’t do much against the wind, but they will protect against damaging UV rays and torrential rain.

If you need any help with your outdoor furniture or backyard living, don’t hesitate to contact us here.

Patio Furniture Basics

patio furniture basics

Patio Furniture Basics

Patio furniture can turn your backyard into the perfect entertainment space, but maintaining that new look of outdoor furniture is difficult when facing the elements. Whether hauling out your tired and true patio furniture basics or shopping for new pieces to add to your backyard for any season, here are some ways to help keep your patio furniture looking new.

FURNITURE COVERS

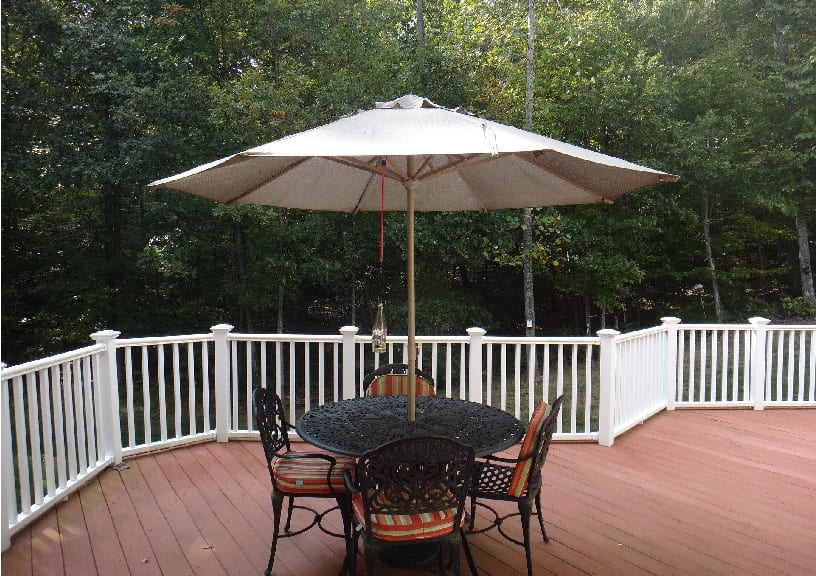
Furniture covers are a great way to extend the life of any outdoor living set. Covers protect your furniture all day and night from sun or storm. The fear of fading will no longer be a problem with a furniture cover since it protects from the sun. Covers also come in a large variety of shapes and sizes to fit any backyard piece.

REGULAR CLEANING

By cleaning your furniture on a regular basis you are able to not only extend the life of your furniture but also keep it looking new. For the most part, basic cleaning for outdoor furniture can be soapy water, but any wicker pieces should be washed with water alone.

STORING PATIO FURNITURE BASICS

Winter can take a toll on patio furniture. The cold can cause furniture to crack and if it gets wet mold and mildew can be a major problem. Finding storage for your pieces during the winter can allow them to last many more seasons. If you are unable to find storage, use a furniture cover, but make sure it is waterproof to prevent mold and mildew build-up.

Using these steps will help keep your patio furniture looking spotless giving you a beautiful outdoor space to relax and entertain all summer.

Clean and comfortable patio furniture helps you create a relaxing spot for your family during warm weather. Preparing your patio furniture is fairly simple and is an easy way to refresh your outdoor living space.

Before you clean your patio furniture basics, assess it. Look for stains, mold or missing parts. Replace any lost foot caps or tighten loose screws. If a piece is too wobbly or damaged to be safely used, discard it and buy a replacement.

VINYL IS YOUR BEST FRIEND

Vinyl covers should be used during foul weather or the off-season. Water-resistant patio table covers with UV protection to help prevent fading are optimal when protecting your outdoor table. Covers that protect both chairs and tables are available, so check the size for what you might need.

HOW TO CLEAN YOUR PATIO FURNITURE

Depending on what type you have, you will have to use a different method to clean it.

Metal requires very little cleaning. You can simply spray with a bit of water or mild soap and you should see a clean surface.

Hardwood can last longer once you clean it with penetrating oil to help resist moisture.

Wicker is probably the most difficult material to clean: Spray it with a hose, and for more difficult cases, use a soft brush and mild soap to work out stubborn areas of moss or mildew.

Cushions, canvases, or vinyl covers also require cleaning — make sure you allow enough time for it to dry before storing.

If your outdoor furniture is in bad shape and needs to be replaced, contact us. We have a wide selection of many different types of pool and patio furniture by the finest manufacturers.

Need help preparing your patio furniture basics or looking for a new set? Contact us here!

The Benefits of Outdoor Kitchens

outdoor kitchens

The Benefits of Outdoor Kitchens

Have you considered getting an outdoor kitchen for your home? Outdoor kitchens can be a great addition to the right home.

We’re going to discuss all of the benefits that come with installing a kitchen in your backyard or patio arrangement.

Increased Home Value

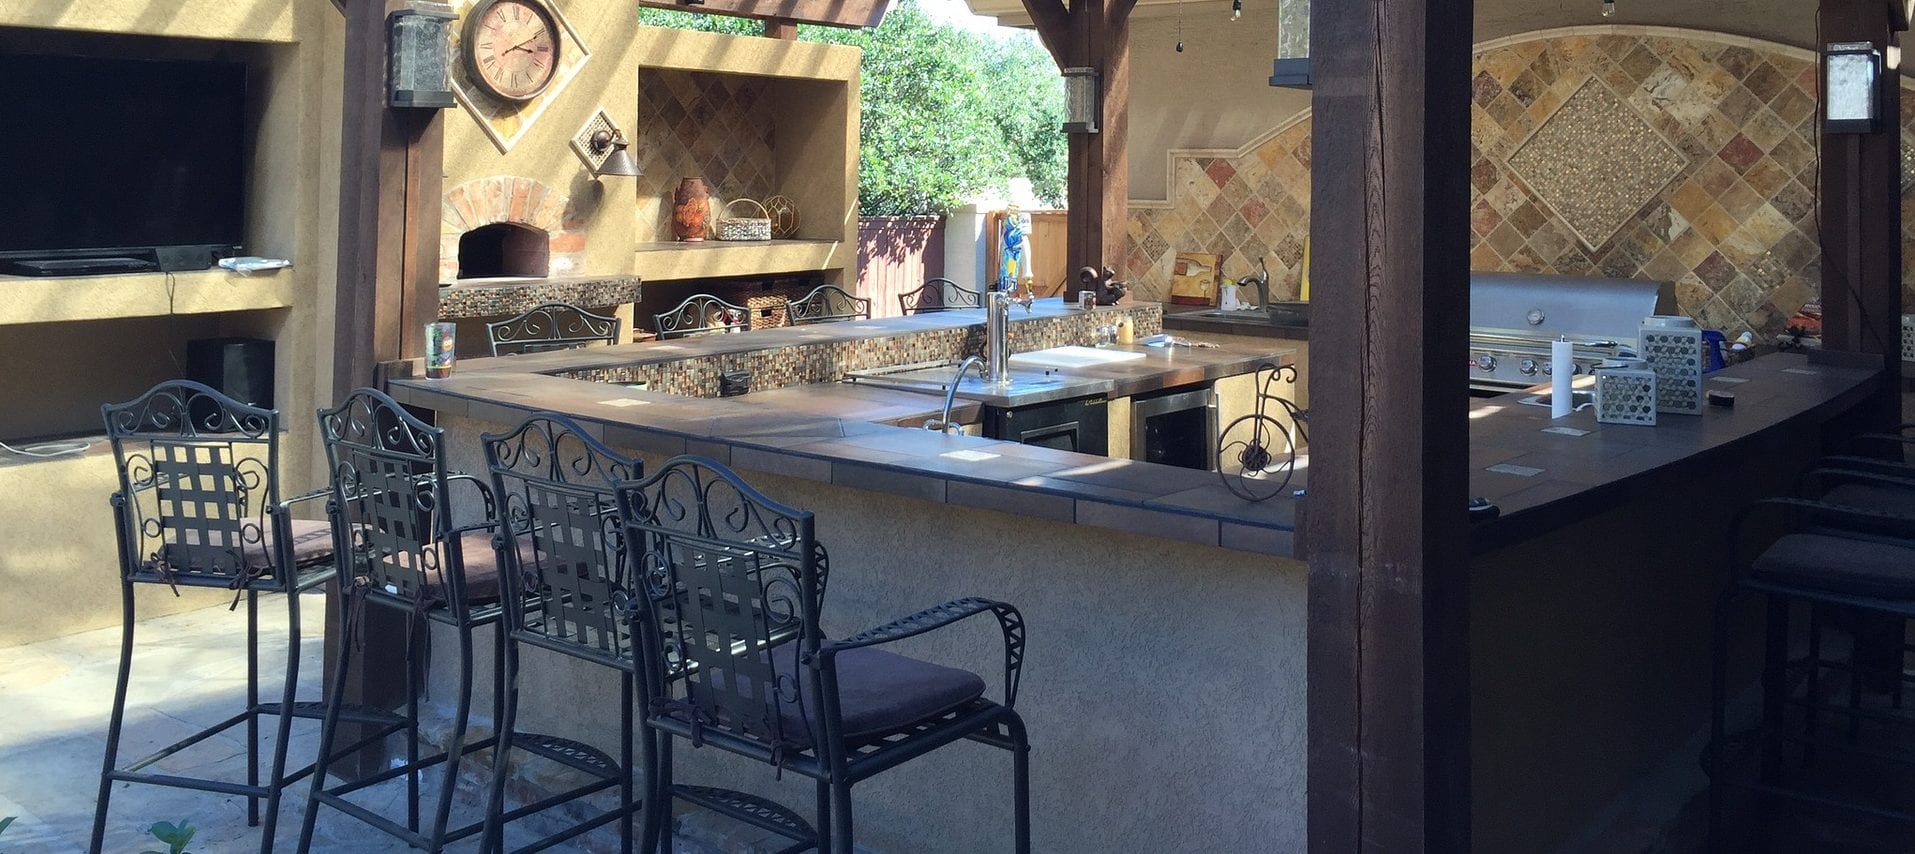
Outdoor kitchens are generally thought to be a luxury item, that can make your house more marketable. Outdoor kitchens have a higher rate of return on your investment, like constructing a garage door in comparison. In case you don’t have a huge yard, make sure you take into account the dimensions of your kitchen. Prospective homebuyers enjoy having an open area which isn’t consumed by structures, like pools and kitchens.

More Living Room

If you don’t have a large gathering space inside your home, an outdoor kitchen is a great option for you. If you’re hosting a party, guests will be able to have more space to relax on the patio and lounge around the outdoor kitchen

Whenever your outdoor patios are coupled with an outside kitchen, food prep becomes sort of a group activity. Therefore, no one gets stuck inside cooking while everyone else is drinking on the patio.

Maintain The Smell of Cooking Outdoor

Another benefit of having an outdoor kitchen is you can keep the smells of grilling or charring foods outside. You won’t have to deal with the smokiness or worry about your house smelling like whatever you’re cooking in the summertime.

An outside kitchen retains cooking grease, odors, smoke, and heat outside–a big plus in sweltering summertime.

Save on Utilities

Cooking outside can also help you save money and energy on your bills. When you cook outside, your A.C. won’t have to work overtime to deal with the heat in your kitchen.

Design Factors of Outdoor Kitchens

When designing your outdoor kitchen, you’ll want to put a lot of time and thought into what exactly you want and need.

A great first place to start is thinking about the ventilation. You’ll want to create a way for smoke to rise and dissipate from the area.

Another priority you should think about first is the size of your patio and the measurements of the accessories. You’ll want to make sure you have enough space for the items, and for anyone on the patio to fully relax.

When planning your layout are some developments to consider:

All About The Grill:

First, you’ll have to think about the size of the grill you want. This solely depends on how many people you want to cook for, what you’re going to cook, and how often you’re going to use the grill. If you plan on hosting large parties and cooking for every guest, a bigger grill is more your style. Though if you just want to cook for your family, and medium to a smaller size will be fine.

You can also decide if you would like your grill to be connected to the ground, or if you would like to be able to freely move it around. This will also be dependent on the size of the grill you need.

Countertops:

When thinking about countertops, you need to think: “How much prep space do I need?”  If you plan on preparing a lot of recipes outside, you’ll want a lot of space. If you’re unsure, get a countertop that’s easy to change out or add to.

Constructed Cabinets:

Cabinets are a great convenience to have outside. With this addition, you won’t have to run in and out from your house to retrieve extra silverware or plating. You can also invest in cabinets that you can lock if you’re worried about theft.

Lighting:

Lighting is what separates the good, bad, and ugly outdoor kitchens. Proper lighting will ensure that you can use your outdoor kitchen at any time you want. Floor lighting, fairy lights, LED, and lamps are all great options.

Lighting can add ambiance and will ensure your guests will be able to see all the delicious food you cook them.

Sink:

Having an outdoor sink can be convenient for you and your guests. You can wash and rinse any outdoor plates right outside, or allow your guest easy access to water refills.

The only limitation you have to a sink is making sure you’re able to connect it to your water source.

Refrigerator:

Outdoor refrigerators are a great item to have that will completely separate your outdoor and indoor kitchens. You can store the ingredients you want to use outside there, and you can reduce the number of times you have to run back inside.

You can go with mini or full-size options, it all depends on your needs and wants.

Floors:

Your best option for flooring is to go with a material that will be able to stand the elements of being outdoors. Concrete, brick natural stone, and tile are great options that can look good and last.

If you have any questions about how to create your outdoor kitchen, don’t hesitate to contact us here. 

10 Ways to Freshen Up Your Backyard for Spring

backyard

10 Ways to Freshen Up Your Backyard for Spring

Spring has arrived and it’s time to bring the indoors out with cozy features. Your backyard is a continuation of your home which showcases your style and personality. Extend your time in the fresh air with outdoor seating areas that feel as cozy as your couch.

Here are some of our favorite tips to freshen up your backyard in time for spring.

Define Your Backyard

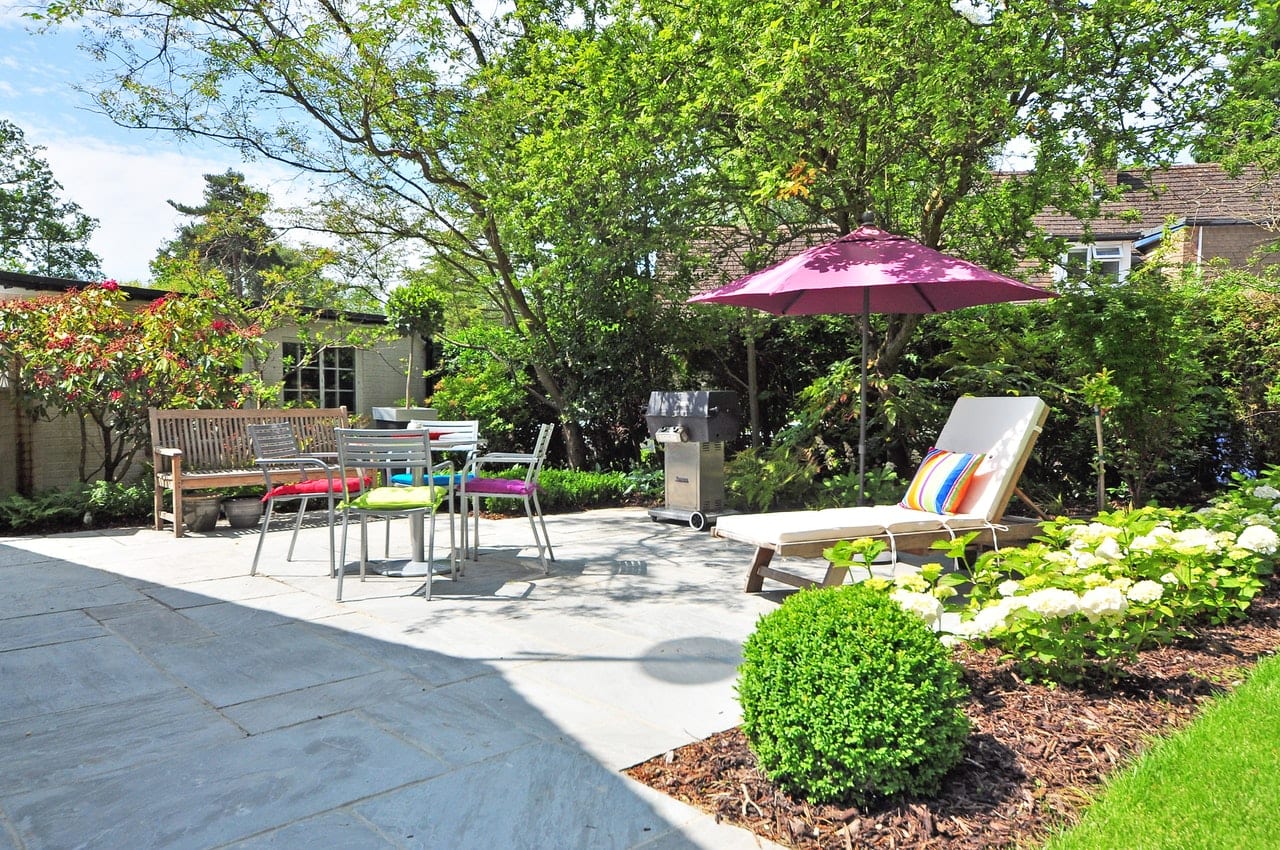
Deciding what spaces you need—dining area, cooking area, shady lounging area, play area—and clearly defining them can make a big visual impact on a yard. Your design is reliant on the space of your backyard, but you don’t need a large backyard to have a great outdoor space.

Even in the smallest backyard, you can update your space in a fresh and easy way. Doing this can be as inexpensive as repositioning the furniture you already have. Or reupholstering new fabric on your outdoor lounge and chairs.

Create an Outdoor Living Room

A living room forms a gathering place in your home, so why not have the same outdoors? Outdoor loveseats, chairs, and a coffee table are simple elements that are generally inexpensive.

Whether they’re looking for a place to eat or a comfortable spot to unwind, a mix of seating options will keep everyone happy. When you have a variety of comfortable seating choices, it adds flexibility and openness to your space. A pergola acts as a roof to create a defined space, just as your walls do indoors. With the addition of brick flooring, comfy furniture, and a warm fireplace, you’ll feel right at home.

Effortlessly blend your indoor and outdoor space with an open-air living room. Comfortable seating, an outdoor bar, and floor-length curtains will make space feel like an extension of your home.

Focus on Color

Your backyard is a continuation of your home, so your outdoor design should be too. A coordinating color palette allows your design to flow both indoors and out with accent colors making each space unique.

Create a welcoming outdoor retreat by incorporating accent pillows to your backyard design. Mix and match patterns and colors to perk up your outdoor furniture. Don’t be afraid to go bold, pillows are easy to change.

Add Some Heat

With beautiful views and a custom outdoor space, your deck is the perfect place to enjoy the spring air. Add a free-standing hot tub to stay warm on those chilly nights or enjoy time with family and friends. Or get a grill so you can enjoy some sizzling food in the spring sun.

A fire pit surrounded by comfortable seating creates a great spot to gather with friends and family. There are fire pit designs for every possible taste and preference – from bricks and concrete to metal.

Secluded Paradise

We all need a getaway from time to time. You can create a secluded area that feels warm and cozy in your own backyard. Natural landscaping creates the perfect backdrop for your backyard. You can add a few wicker chairs and a matching end table that mimic the surrounding landscape to enjoy your peaceful retreat for hours.

Plants are a flexible, quick, and budget-friendly way to update your outdoor design each season. Adding vines to a pergola or fence softens the space while adding variety and interest. For a splash of color, consider potted plants that give you the flexibility to replace depending on the season or your color palette.

Utilize fencing.

A fenced-in backyard gives you privacy from street traffic and neighbors. Instead of a solid fence, choose a style that is more open. It will make your backyard seem larger. A lattice fence is perfect for small backyards.

Think Small

Pieces with thin frames and petite bodies make a small space feel roomier. Compact bistro sets are perfect for a garden corner or porch. Built-in benches will maximize seating and storage in minimal space.

Light It Up

Lighting plays a major role in how space feels. So incorporate both task and ambient lighting to create the mood you want and to provide the amount of light you need.

Create Ambience

Now that your backyard is looking like it should, take the extra steps to turn it into a place you will want to spend time in. If you don’t have appropriate garden lighting, there is cheap solar lighting that is easy to install.

A water feature adds good feng shui and if you don’t have appropriate garden furniture, there is attractive plastic garden furniture that is virtually maintenance-free, resistant to the elements, and easy on the pocket.

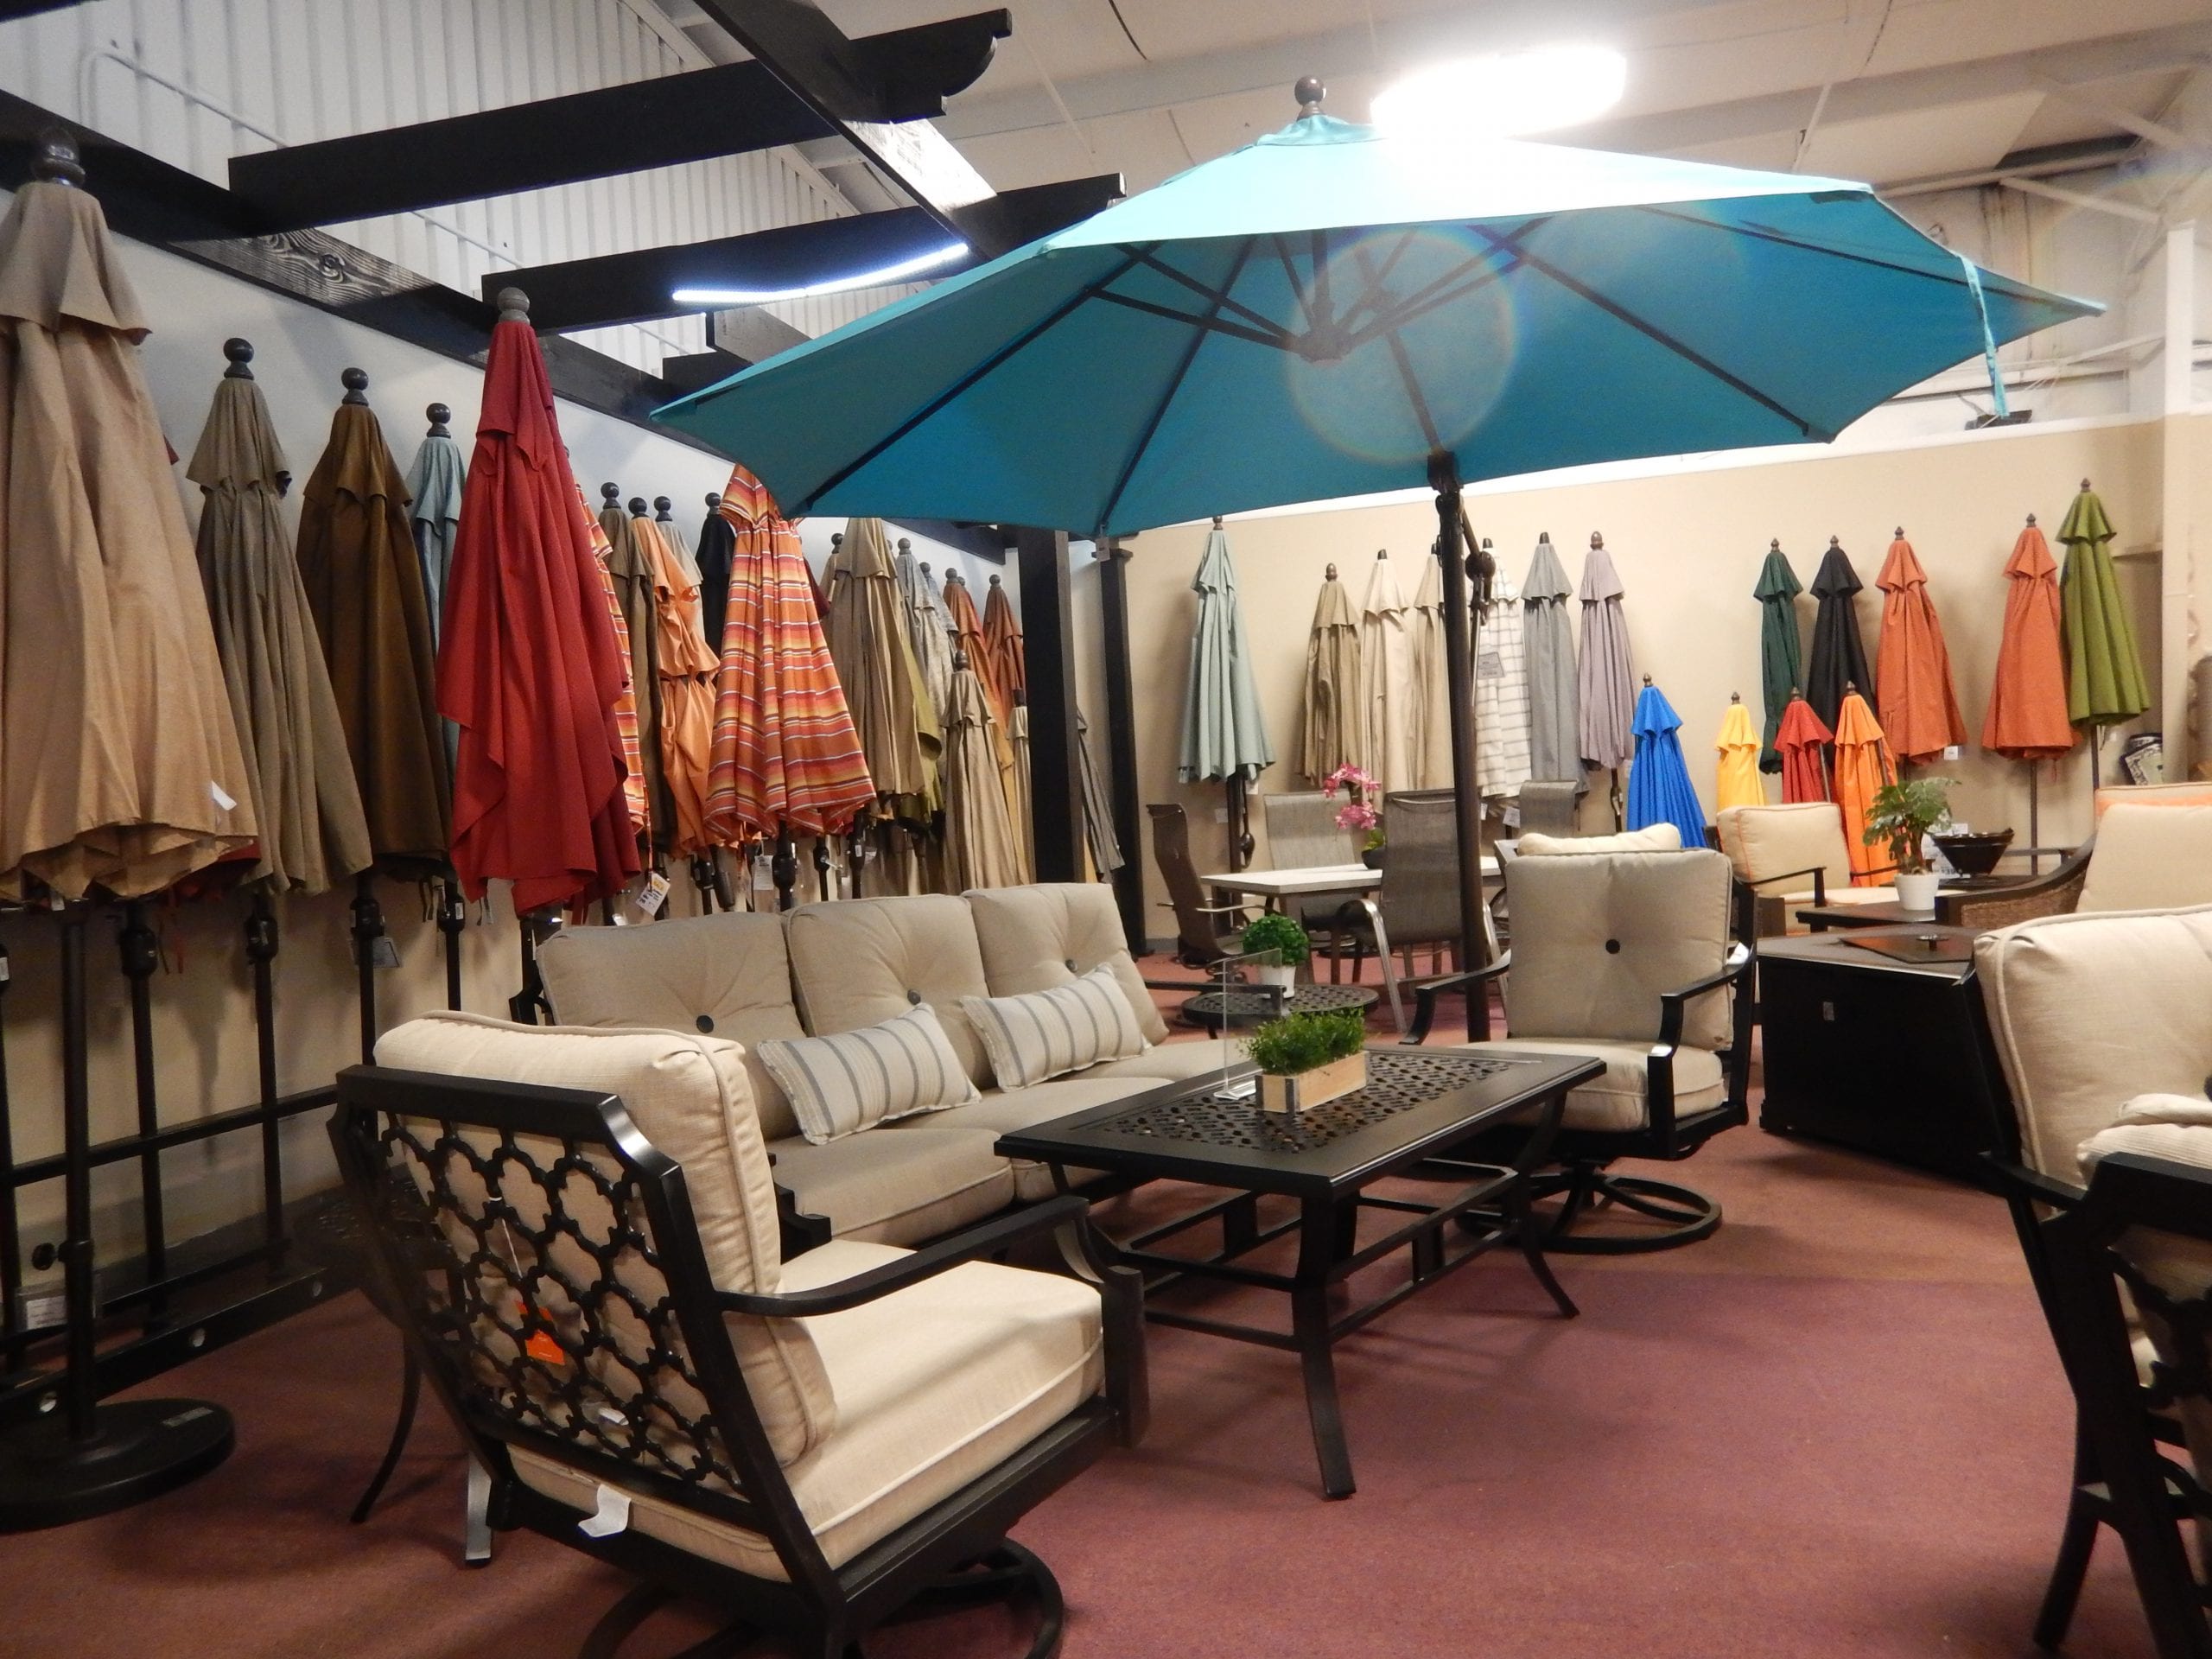
Also, comfy outdoor living requires shade, so make sure to include a sun umbrella, canopy, or pergola above any seating area.

Have any questions about creating your perfect backyard? Contact the experts here.

Outdoor Fireplaces: Everything You Need To Know

outdoor fireplaces

Outdoor Fireplaces: Everything You Need To Know

During the spring and summer, we like to spend as much time as possible outside. But sometimes the nights and evenings can be too chilly to fully enjoy our backyard and outdoor living space. Fortunately for us, many options cannot only add warmth to those days that “look” warm and inviting, but can also provide hours of family activities and bonding. These options are outdoor fireplaces, fire pits, and patio heaters.

Outdoor firepits and propane patio heaters range in style from a simple outdoor fireplace to those that add an elegant accent to an already classy backyard area. Whether you’re looking for a way to enhance your backyard with a cozy fire or to warm up your patio or deck, you can follow these tips on choosing the best outdoor heating solution for your family’s needs.

Outdoor Fireplaces and Fire Pits

There’s nothing like a fire pit to provide countless hours of outdoor fun, family time, and s’ mores! Overall, pool and patio firepits are relatively simple – they allow you to enjoy an open fire in your outdoor living spaces. That being said, there are a few important things to know.

The first thing to consider is what type of fuel you want to use in your fire pit – gas or wood. While wood is the preferred fuel because nothing compares to the smell and sound of a real campfire, some people may just want the heat without the fuss of starting and keeping a fire going.

Second, you need to find the fire pit that best goes along with the rest of your backyard decor. Fire pits come in a variety of different sizes and shapes as well as materials used to build them. As a fire pit fanatic, I recommend looking for a bowl that is built from weather-resistant materials such as copper, stainless steel, or iron. While they may be a bit more expensive, you are getting your money’s worth. The better the fire bowl is built, the longer it will last, and look good too!

Finally, make sure your fire pit has a sturdy cover. While it may seem silly to place a mesh fire screen in the pit while the fire is going, it very well may protect you and your home from jumping sparks like the fire crackles. Also available are off-season covers, to keep your grill clean and dry during times of non-use.

Fire Bowls

This is a good time to explain the difference between a fire pit and fire bowls. Firebowls are usually placed in the corners of pools, or next to a spa. More for accent, less for heat, fire bowls are usually a concave concrete design, filled with river rock. Equipped with a gas line and connected to propane or natural gas source, fire bowls produce a small, adjustable flame. Firepits are a larger affair, not quite a bonfire, but enough to produce some heat and a cooking source.

Outdoor Fireplaces and Patio Heaters

There are many options to consider when shopping around for the perfect patio heater. To start, there are three different types of outdoor patio heaters: propane patio heaters, lamp-style heaters, and infrared heaters.

Propane Patio Heaters

Propane patio heaters are great for backyards and decks. Instead of having to worry about plugging them into an outlet, they are 100% self-sufficient. A propane tank is stored within the base and the heat is completely adjustable. These patio heaters are usually completely metal and are equipped with a safety shut-off – in case the heater ever gets tipped over.

Lamp-Style Patio Heaters

Instead of using propane, Lamp-Style Patio Heaters are powered by 1200 watt halogen light bulbs. All they require is a 120v grounded outlet! Like the propane heaters, they are also equipped with safety shut-offs. That being said, regardless of their height, they can both heat an area up to 12ft diameter – since they are powered by the same halogen bulbs. Lamp-style patio heaters usually consist of a resin body with a steel hood and feature weather-resistant hardware. These very stylish table heaters can add look and a feeling of warmth to your patio or deck.

Infrared Patio Heaters

Infrared patio heaters use infrared waves to directly heat the object or person that they are pointed at. They cost substantially less to operate than propane patio heaters and have no warm-up time. Acting much like an outdoor lamp, they can either be plugged into a 120v grounded outlet. They come in two different varieties: wall-mounted heaters and umbrella-mounted heaters. They require no gas or open flames and since they are permanently installed, you don’t have to worry about storing them when they’re not in use.

Have any questions about outdoor fireplaces? Contact us here!


The Early Bird Tent Sale

early bird

Grab the early deals of the season at Cincinnati Pool & Patio’s Early Bird Tent Sale!

Find 75% off all patio furniture, all clearance items, and scratch-n-dent items now through March 25th!

To help you take advantage of this great deal, here are our tips on how to find the best patio furniture for you.

Early Bird Tips

Quality over Convenience

The adage “you get what you pay for” is true for patio furniture. Plastic resin chairs or side tables look great on the shelf and will keep their good looks for a year or two out in the sun. Though, in time they will become brittle and lose their vibrant coloring. The same is true for some wood products and wicker pieces. Shop with care, checking consumer reports and reviews, before making a big purchase.

Think About Storage

Add years to the life of your patio furniture by storing it in a protected location. Such as a garage or basement during the offseason. Even the toughest furniture, such as teak chairs or a wrought-iron settee, will last longer if it is placed in storage when not in use. If your storage space is limited, look for patio furniture that folds or is easily taken apart for compact storage.

Comfort over Style

Take a seat before you buy. Comfortable patio furniture, just like interior furniture, will be used regularly as opposed to uninviting patio furniture, which might have good looks but not-so-good comfort.

Check out our list of patio furniture here! 

If you have any questions about patio furniture or the sale, contact us here!